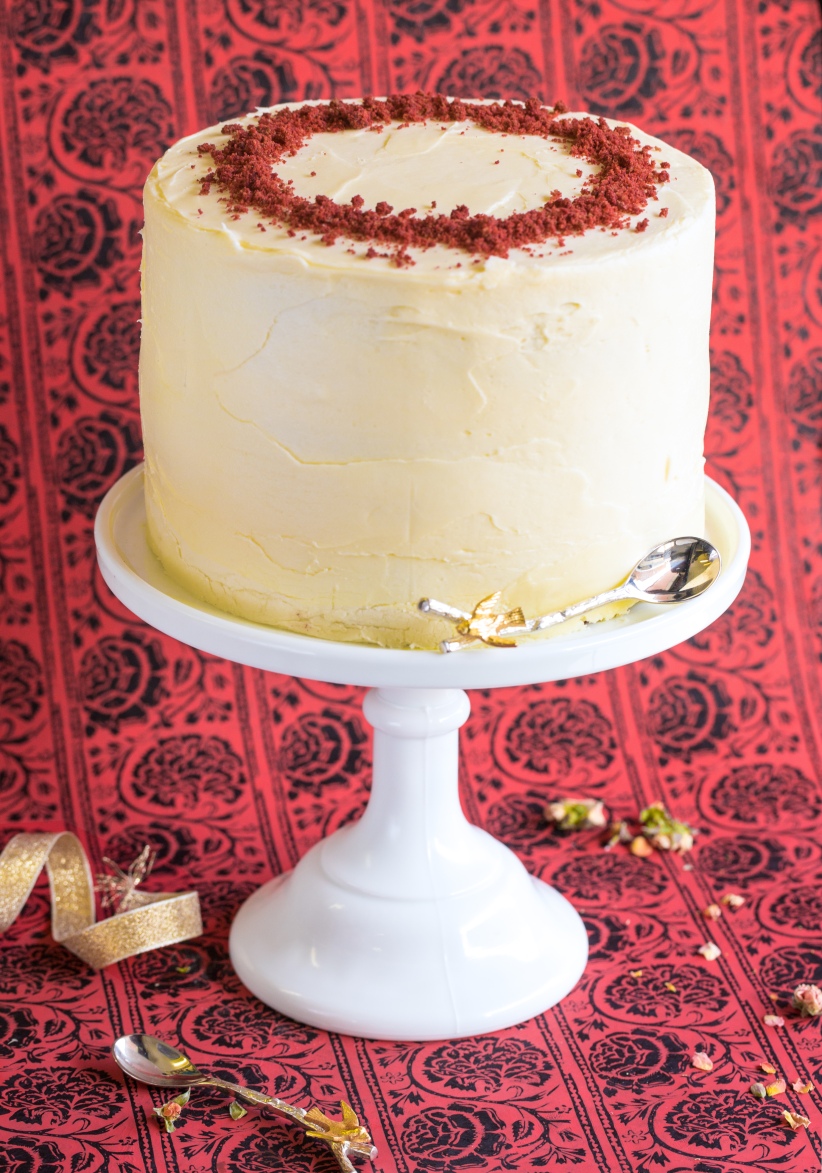
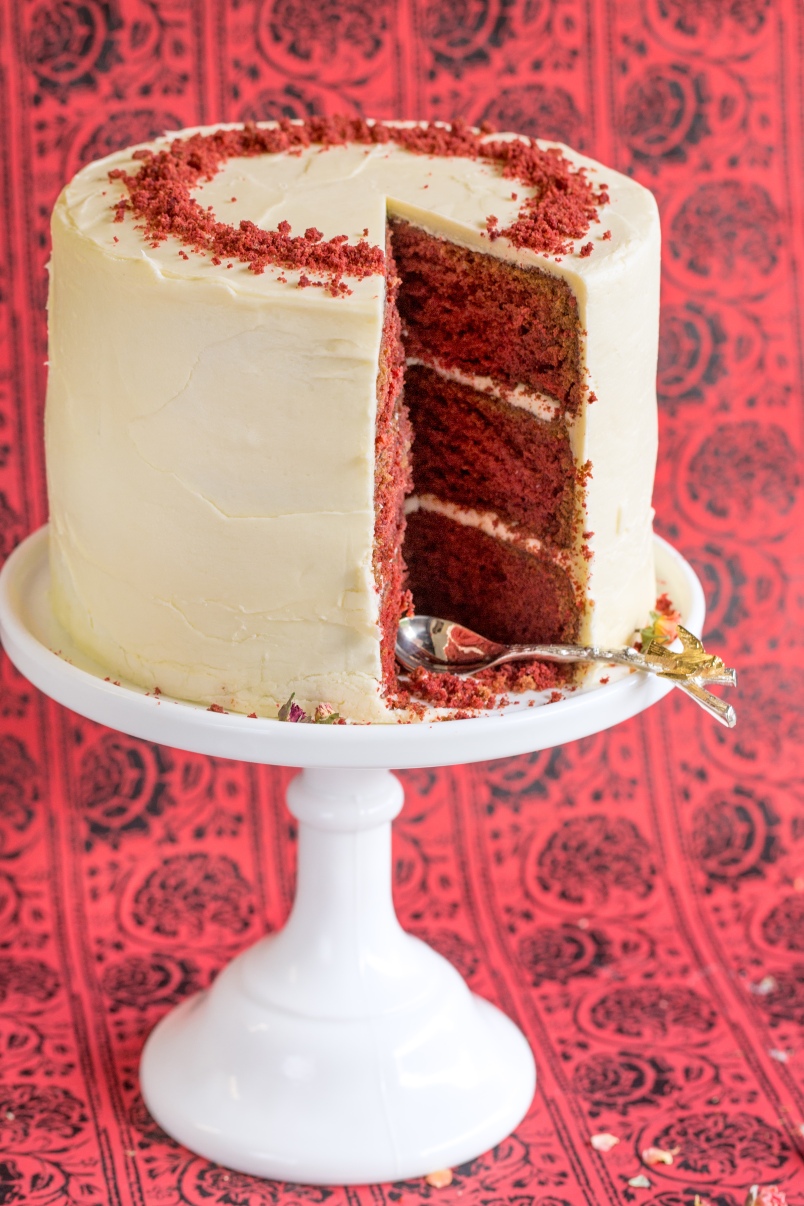
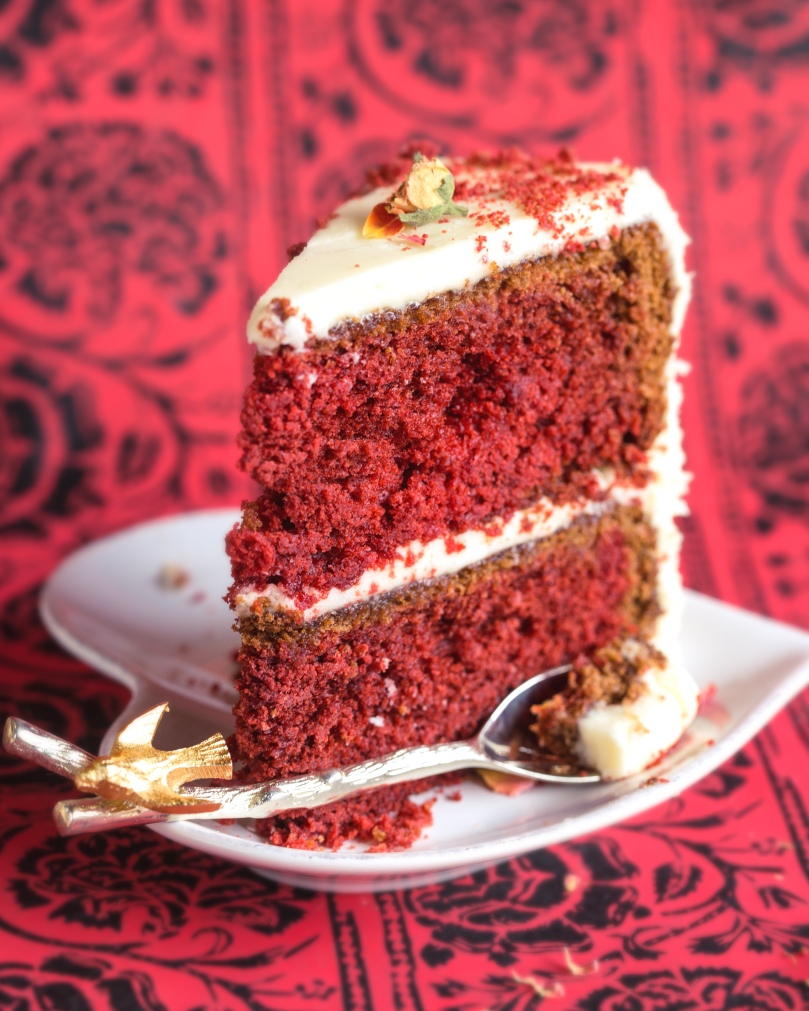
 Ahh the Red Velvet cake, it started as a traditional American cocoa/buttermilk based cake from the Deep South with it’s exact origins long disputed. Little did they know this cake would become an international sensation with baking and cake fans. Many thought this was a fad but year after year the trusty ol’ Red Velvet has proved it has staying power. It’s inspired many spin offs (red velvet cookies, red velvet donuts, Oreos, truffles, milkshakes) and it’s even crossed over into the world of trainers – Red Velvet Air Max anyone? Yup, Red Velvet ain’t going away.
Such is it’s popularity, I’ve been making red velvet cake almost daily for over five years. There are lots of variations of recipes, all use pretty much the same ingredients while methods can differ slightly. This is the recipe we use in the bakery, it’s one I have adapted over the years and it’s bloody amazing – even if I do say so myself.
Red Velvet Cake
This recipe makes a tall 9″ cake.
Ingredients
500g self raising flour
1/2 tsp salt
2Tbsp cocoa powder
6tsp red food colouring, we find powder is best mixed with a little water to form a paste
240g unsalted butter, softened
500g caster sugar
2tsp vanilla extract
4 large eggs
350ml buttermilk
2tsp bicarbonate of soda (or baking soda if you’re from the US)
2tsp cider vinegar
Preheat oven to 180 degrees C/ gas mark 4. Grease and line 3 round 9″ cake tins.
Sift together the flour and salt. Set aside.
In a small bowl, mix the red food colouring paste with the cocoa powder and set aside.
Using a mixer, cream the butter until pale and add the sugar gradually. When making cakes I always beat the butter first before adding the sugar, it gives a much fluffier cake. Beat until pale and fluffy – about 5 minutes. Mix in the vanilla extract.
Add the eggs one at a time, leaving a minute between each. Scraping down the sides as you go. Mix in the red food colouring. You can add more colouring if you feel it’s not red enough but take care not to add too much liquid.
Now add a third of the flour to the mixer and mix it in on a low speed, add half the buttermilk then repeat with the next third of flour and remaining buttermilk. Add the final third of flour and mix until just combined. Take care not to overmix.
In a small cup, combine the bicarbonate of soda with the vinegar. Allow it to fizz, then quickly fold into the mixture.
Transfer a third of the mixture into each cake tin. Bake for 20-30 minutes (depending on your oven) or until a cocktail stick inserted into the centre comes out clean. Remove from the oven and turn out onto a wire rack to cool. Once cooled, refrigerate for one or two hours before icing.
Cream Cheese Frosting
There are many ways to make cream cheese frosting, here I add the cream cheese at the end. After years of trying to perfect my method, I found beating the cream cheese and butter together could be problematic. Sometimes you’d get lumps of butter that you just couldn’t get rid of, other times the mixture would go sloppy as soon as you started adding icing sugar. Adding the cream cheese at the end just avoids all these problems and is pretty fail safe. I don’t add any vanilla to this recipe as I find it masks the flavour of the cream cheese.
Ingredients
500g unsalted butter, softened
800g icing sugar, sifted
200g full fat cream cheese, softened
Cream the butter until light and fluffy. Add the icing sugar a little at a time and beat on medium/high speed until smooth. Mix in the cream cheese on low speed.
Once the cake is completely cool, level each layer using a serrated knife. Keep the trimmings for decoration. Place the bottom layer on a cake stand or board and spread a dollop of cream cheese frosting evenly using a palette knife. Do this with each layer then ice the top and sides. To decorate we crumble the trimmings either by hand or in a food processor and sprinkle over the top of the cake.
You can also use this recipe for cupcakes. This recipe makes 24-30 red velvet cupcakes, half the mixture if you only want to make 12.
Enjoy!
Pic credit: Zoe Flammang


About the author Mary Lou
My real name is Mary but I'm known as Maria. I also like being called Mary Lou.... Author of Cake Pops (Square Peg, 2011) and Chocolate (Square Peg, 2014). Owner of Molly Bakes. Lover of fashion, homewares, holidays and food. Baker and decorator of cakes. Here I share my recipes, tutorials, loves and life.
-
May 30, 2015
-
May 18, 2015
-
May 16, 2015
All posts by Mary Lou →How to make a Pinata Cake
My Favourite Chocolate Cake Recipe
Handmade Flower Bouquet Workshop with Rebel Rebel