I was asked to make this cake a couple of weeks ago and was pretty much jumping up and down with excitement as I’ve waited for someone to order a 3D pineapple cake for so long. I just can’t get enough of pineapples. I wouldn’t say I’m obsessed (believe me I have enough obsessions already) but I do own quite a few pineapple objects. I have a pineapple lamp, pineapple ornaments, pineapple spoons, pineapple bottle stops, you get the picture. Ok maybe just a little obsessed? Even in the bakery we’ve made pineapple shaped chocolates, cupcakes with pineapple toppers (I see a pattern emerging, ok I’ll stop right there).
As with most new cakes I make, I search for tutorials or instructions on how to do certain parts of it. Usually there’s plenty of instructions online but I really struggled to find a pineapple tutorial. That’s when I decided to do one myself. This cake was so much fun to make I could make it again and again and never get bored. Besides it means I can get my airbrush out and that is always fun. You may not have an airbrush at home but if you’re serious about cake decorating or do it often it’s definitely a must have item and a worthy investment. I honestly don’t remember what life was like before I got my Dinkydoodle one. I use it for everything but more on that at a later date.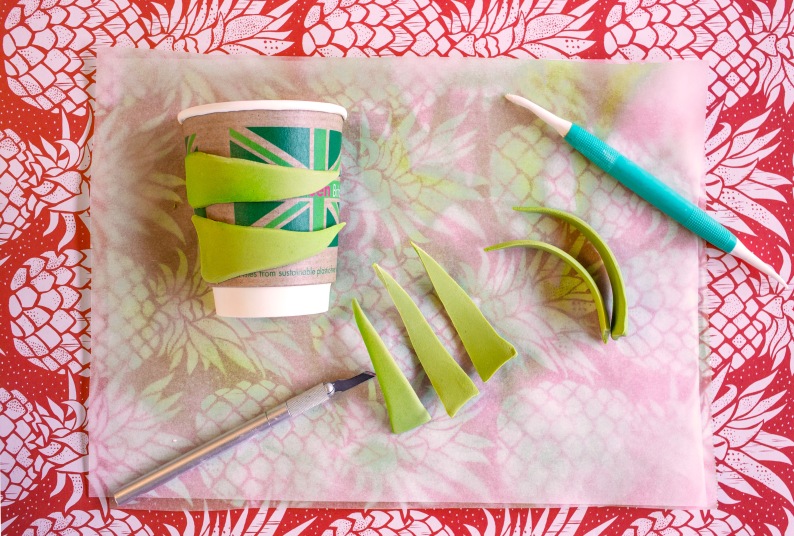
Making the leaves.
First up, you’ll want to make the leaves in advance – at least the day before. I made approximately 40 leaves in different sizes, you may want to make a few extras as my cake used every single leaf apart from one which broke when I dropped it. I cut them all out freehand with a sharp knife and then draped them over a paper coffee cup to dry out. This helps them hold their shape. I pre-cut the coffee cups in half and lay them on the table cut side down so they don’t move around. You can use plastic cups or paper cups which can easily be found in most supermarkets or general stores.
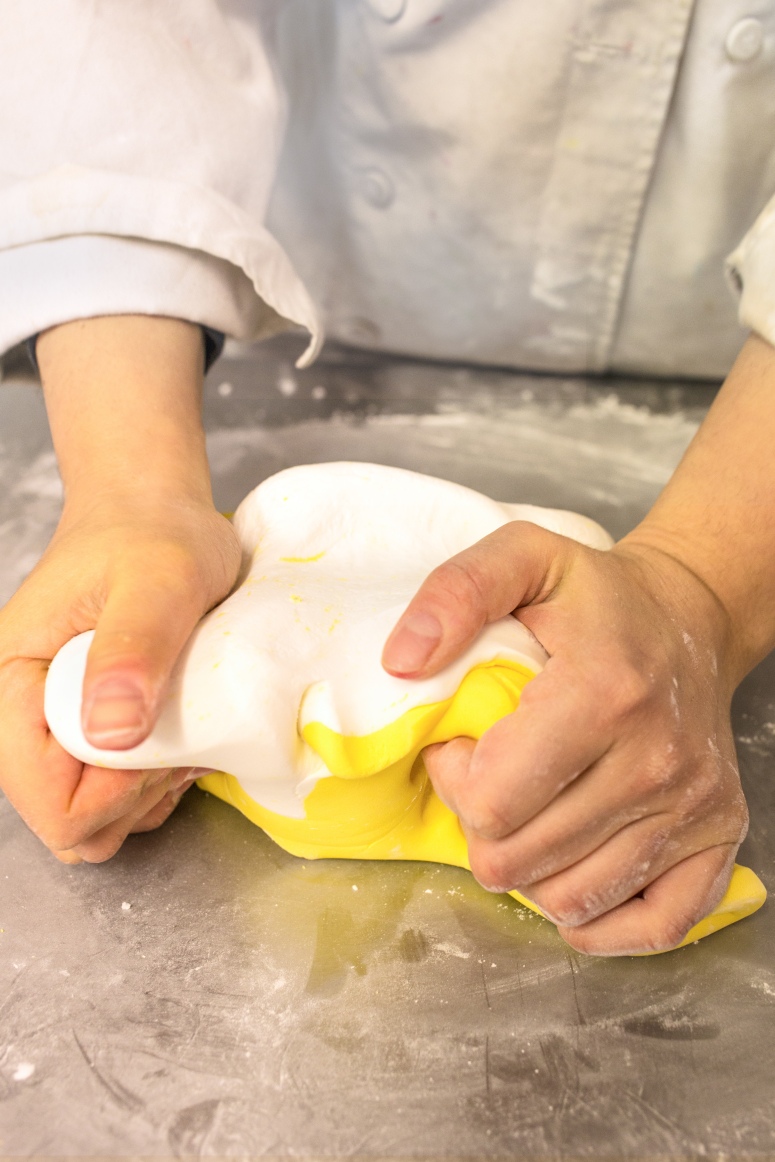
Instead of buying modelling paste I use a 50/50 mix of sugarpaste and flower paste to make my own. Doing it this way works out way cheaper. I used about 200g of Squires Kitchen Florist Paste in Ivy Green and 200g Sattina White Sugarpaste for this (Sattina is my absolute favourite sugarpaste). Knead them together until the colours are completely combined and the modelling paste is pliable.
You want to roll it out about the thickness of a 50 pence piece and cut out the leaf shapes. I made sure some leaves were quite tall and skinny while others were shorter. I found there was no need to put wires in them so just drape them over the paper cups and leave aside to dry.
Carving the cake.
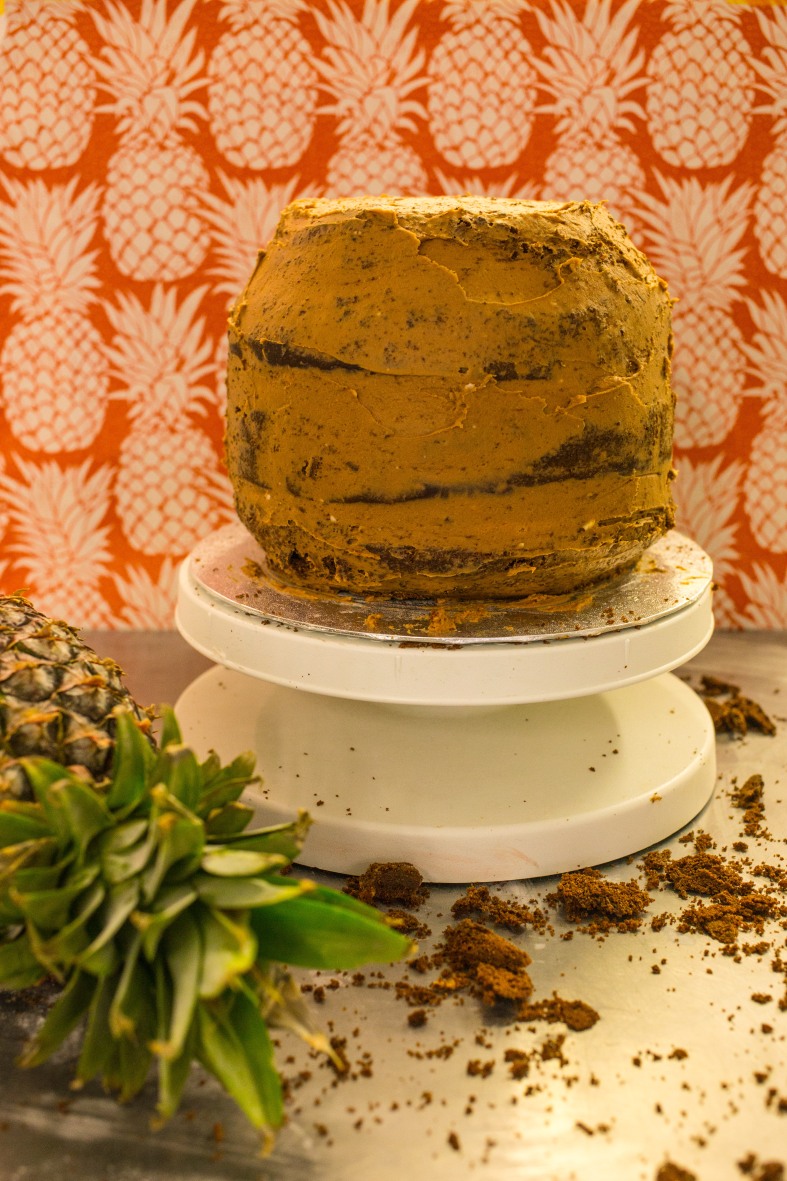
You can use any cake recipe for this. I prefer chocolate and vanilla sponges for carved cakes as they’re much easier to work with than say a softer red velvet or carrot cake. For this I used an 8″ chocolate cake with 4 layers. You can go taller if you want. I wouldn’t go too much bigger than 8″, as the bigger the cake the taller it will have to be. I kept most of the sides I just carved a little into the top and bottom. Crumb coat the cake as usual and chill for at least 30 minutes before covering with fondant.
Covering the cake.
I used 1.5 kg Sattina Yellow Sugarpaste. Knead the sugarpaste until it’s warmed up and pliable. Remove the cake from the fridge and brush with water. Roll out the sugarpaste to about 1/2 cm thickness and drape over the cake. Use fondant smoothers to smooth the sugarpaste and secure the bottom before cutting it away.
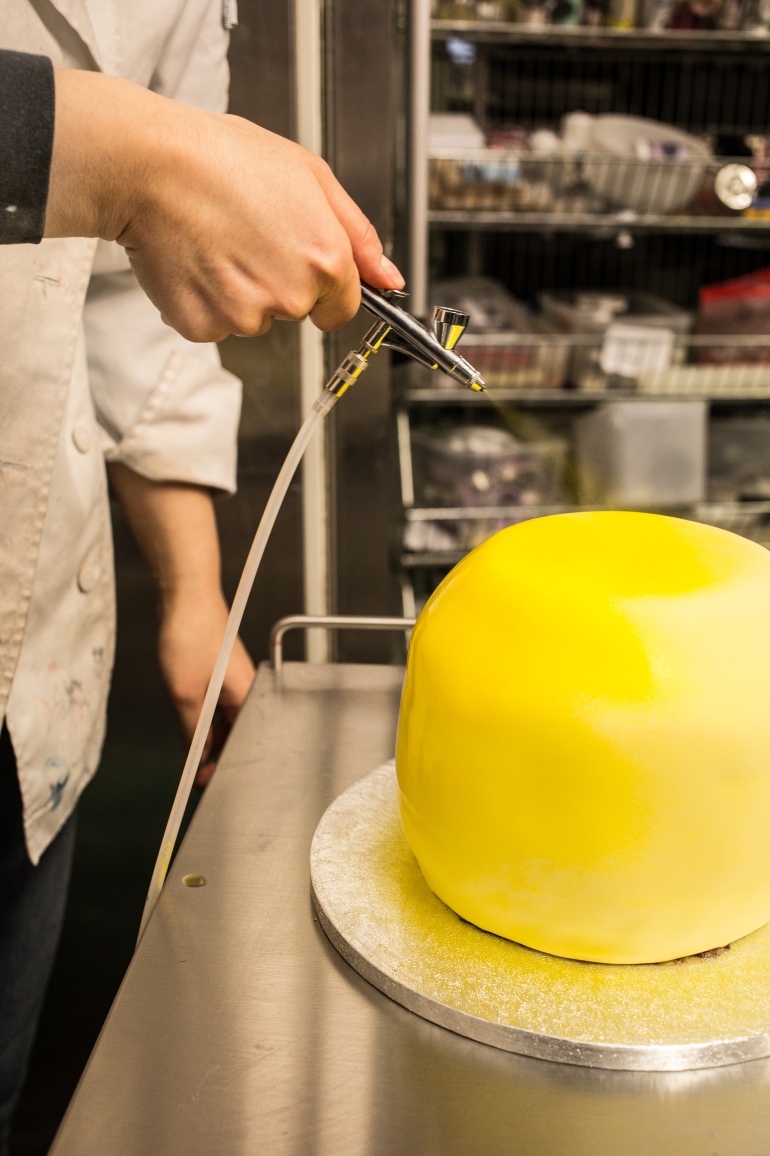
Next up I actually airbrushed my cake to give it a more vibrant yellow colour. I use Kroma Airbrush Colours as you can buy them in a set of 12 for quite good value. Told you I love my airbrush!
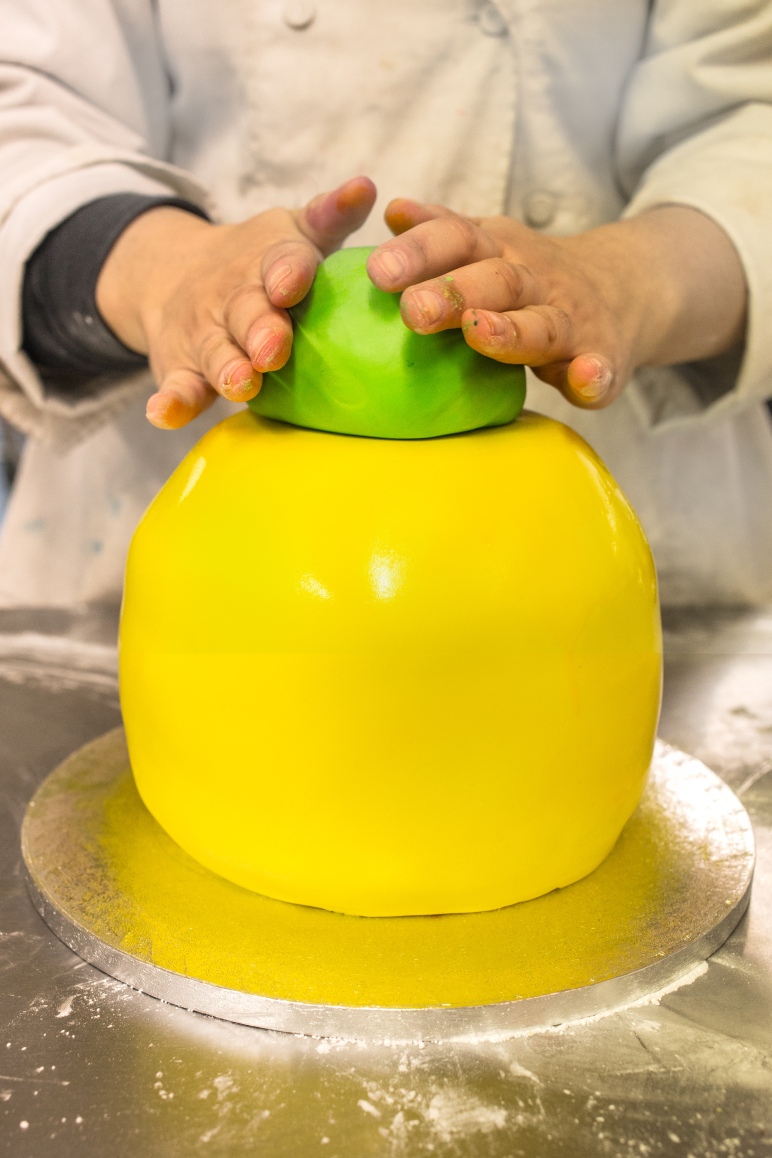
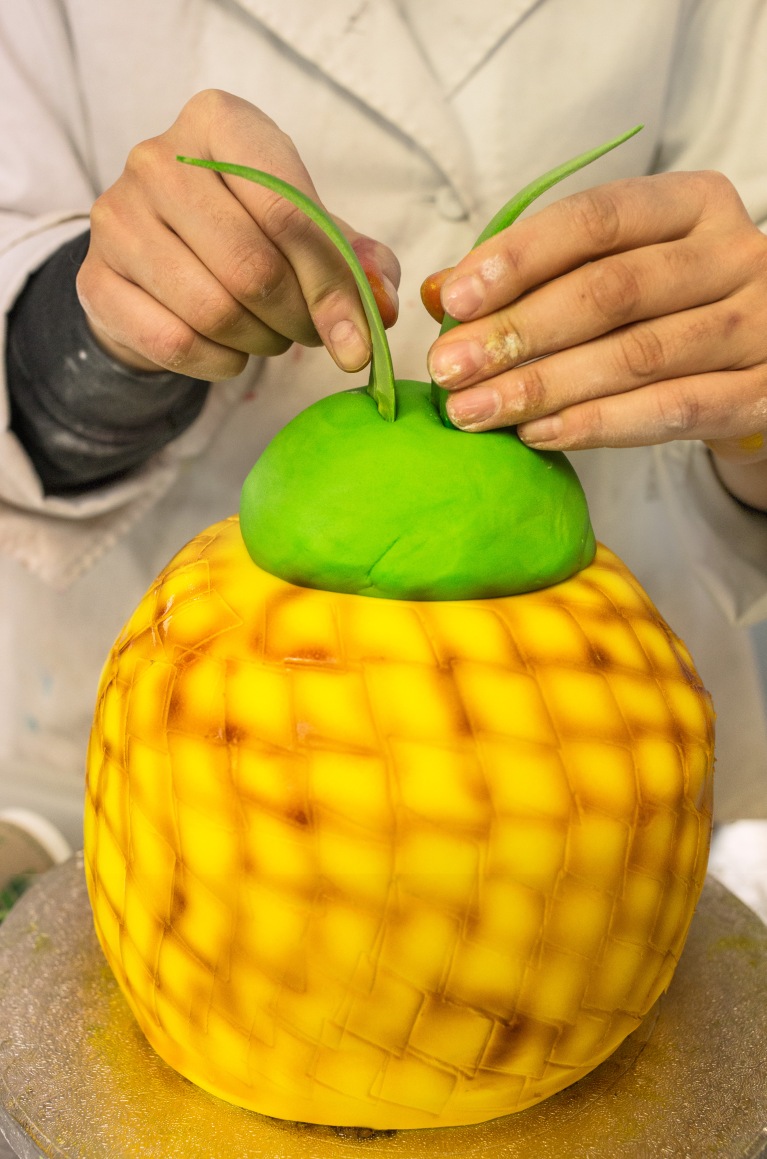
I then made a little mound out of green sugarpaste for the leaves to go into, as an added bonus this also gives the leaves and cake some more height. I used about 400g of green sugarpaste, any green that is similar to your leaf colours will work. You’ll want to dowel your cake before adding the mound as the weight of both this and the leaves will make your cake sink otherwise.
At this stage the cake looks like a giant squeezy lemon bottle.
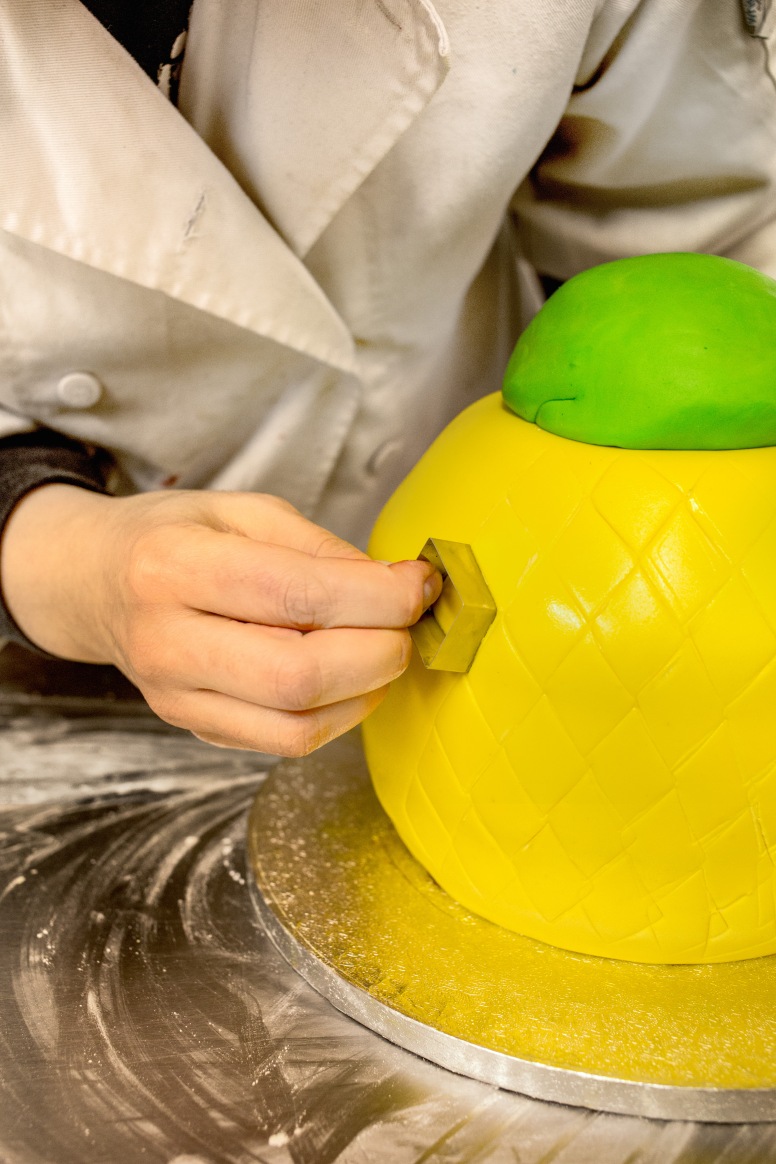
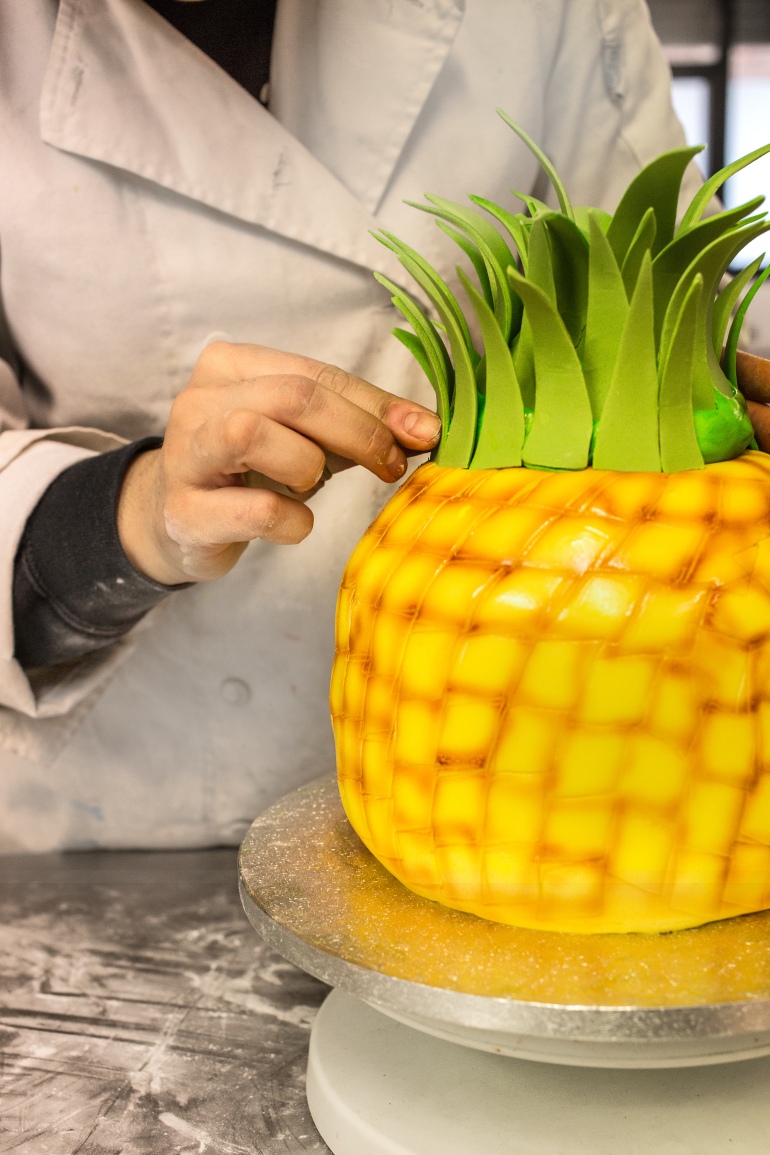
There are probably many ways you could add the texture to your pineapple but I found the simplest was just to use a diamond cutter and imprint in a diagonal pattern all the way round the cake. This might require some patience if your cake is large. I actually didn’t have a diamond cutter so I bent a 1″ by 1″ square cutter into shape. You could also use a diamond impression mat if you have one but this would have to be rolled into the fondant before it goes on the cake. I preferred to do it this way as you have more control. I start at the top and work my way down. As you reach the bottom you may find the cutter doesn’t fit but don’t worry as the airbrushing will reach where your cutter won’t.
Airbrushing the cake
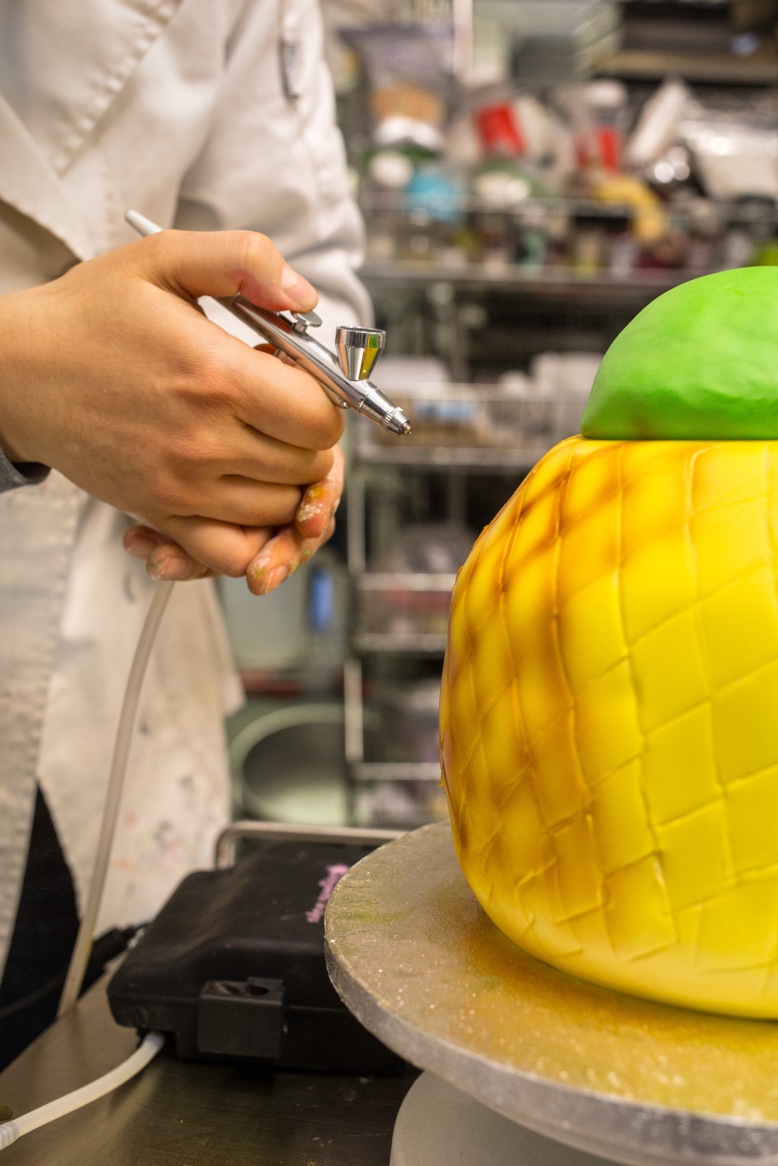
I used brown Kroma Airbrush Colour and a steady hand to follow the lines imprinted by the diamond cutter around the cake. Don’t worry if some areas are darker than others, this would be completely natural on a real pineapple.
Crowning the cake
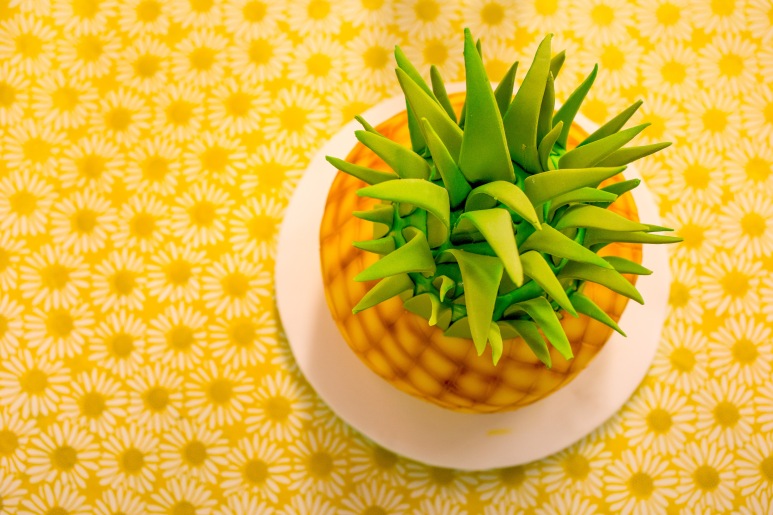
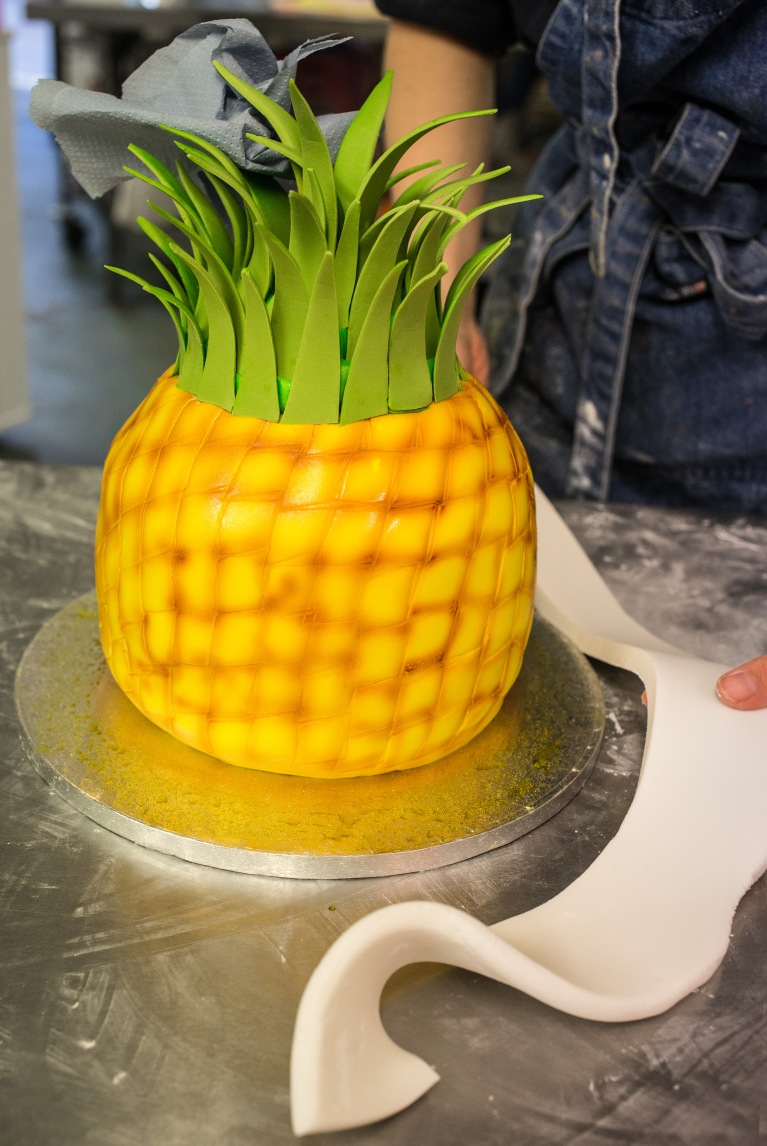
Now you can start adding the leaves. Lightly brush the fondant mound with water. Start at the top of the mound with the tallest leaves and gently insert them into the still soft fondant. Now work your way round with the leaves and once you reach the bottom of the mound you can hide it completely with a row of leaves so remember to leave plenty for this.
I think it’s really important to ice your cake board. I see so many cakes online that are beautifully made but then just plonked on an ‘orrible silver drum. It’s like running a race and giving up a metre before the finishing line. It only takes a minute and is really easy to do. Will add a tutorial on how to cover a cake board at a later date.
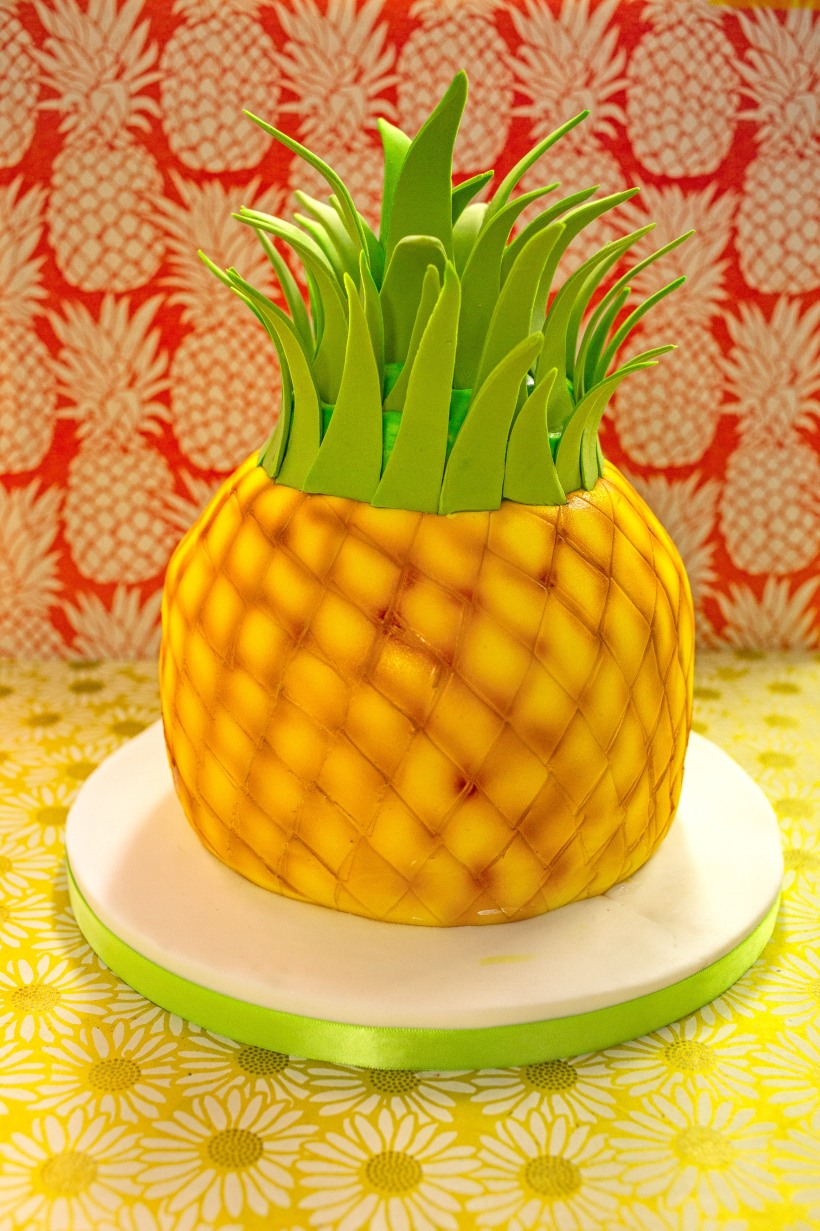
And here you have it a beautiful pineapple cake. Kind of reminds me of those plastic vintage pineapple lamps. You may be relieved to know that I don’t have one of those. Yet.
Any comments or questions, leave them below and I’ll get right back at ya.
Pic credits: Zoe Flammang

Hi 🙂
I’m trying to bake this cake for my best friends 21st this weekend, like you, she also has a pineapple obsession.
I’ve bought all the ingredients and ensured I have all equipment, however when going through your instructions today I’ve found that I have missed out the dowel rods.
Firstly, if i’m making a 4 layer cake like yourself how tall must they be?
Also, I’ve now run out of time to order these, do you know of any shops which i would be able to buy these from?
Really need your help!!!!!
LikeLike
Not to worry you could actually use wooden skewers or even straws in place of dowels (bubble tea straws are ideal). These are a cheaper way to dowel a cake and just as effective.
Good luck with the cake!
LikeLike